
Take your customer service to the next level by enabling the Live Agent option. If your Chatbot is unable to answer a customer's question, the customer can choose to chat in real-time with an available member of your team. Start building your live agent team now!
Adding Live Agents
System Administrators can assign users as Live Agents. Once assigned, these users will be able to accept chat requests when they designate themselves as available within the inbox of their Onflo (formerly Let's Talk) account.
- Go to Settings, and select Live Agent under the Channels section in the left panel.
- This will bring you to the Live Agent setting page where you can add or remove existing agents.
- Ensure that the Enable Live Chat switch is toggled to ON.
- To add a new Live Agent, simply click on the Edit Team Members icon next to the Live Agents heading, and type the name of the desired user in the pop-up window.
- Click Save to confirm your changes.

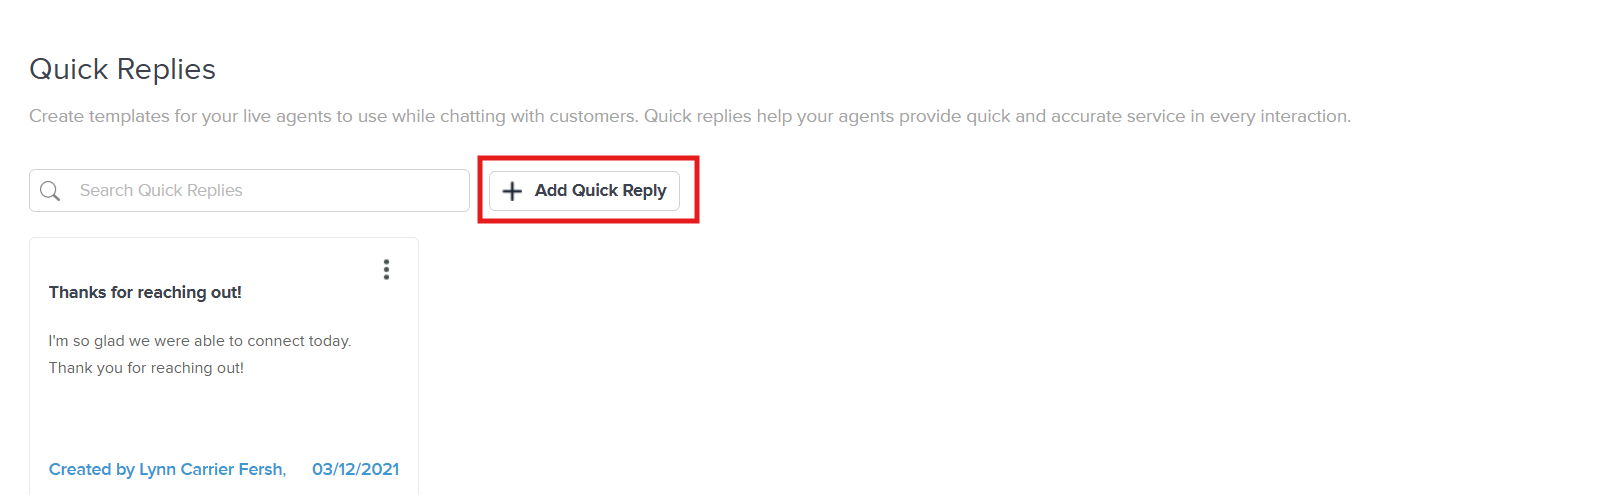
Quick Replies
Quick Replies are templates for your Live Agents to use while chatting with customers. Taking a moment to create these replies will help your agents provide quick and accurate service in every interaction.
- Go to Settings, and select Live Agent under the Channels section in the left panel.
- On the Live Agent settings page, scroll down to the Quick Replies section.
- Click the Add Quick Reply button to launch the pop-up window
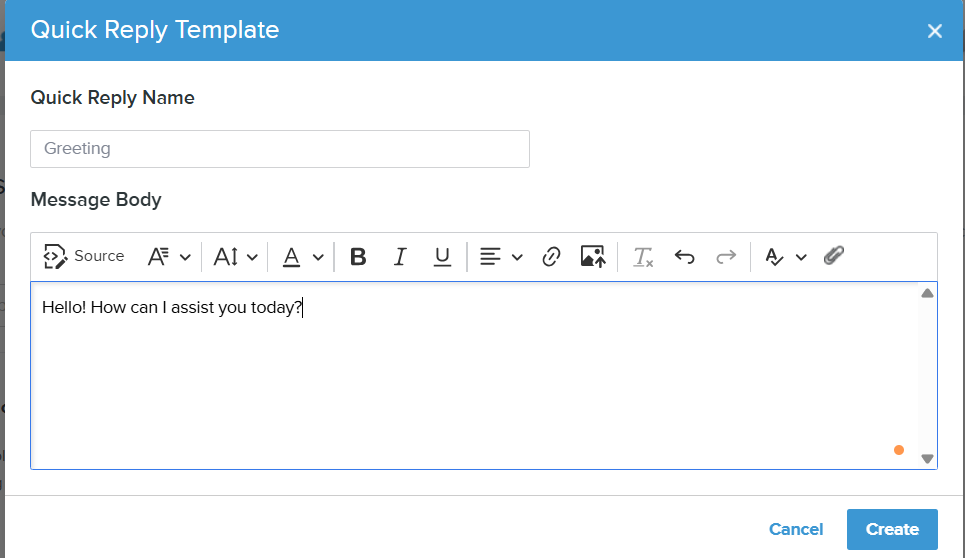
- Create a name for your new Quick Reply. This title should convey the overall sentiment of the Quick Reply so that members of your team can easily identify when to use it.
- In the Message Body text box, type the actual content of your Quick Reply that you want sent to customers.
- Click Save to confirm your changes.
Note: This feature is only available if you are currently using our chatbot - the Onflo Assistant. Interested in enabling these functionalities? Contact your K12 Insight Customer Success Manager or click “Need Help?” in the lower right corner and fill out the form.