
Do you want to assign a ticket to a specific Topic based on an answer to a question within a form? Good news- now you can!
How to create an Answer-based Workflow
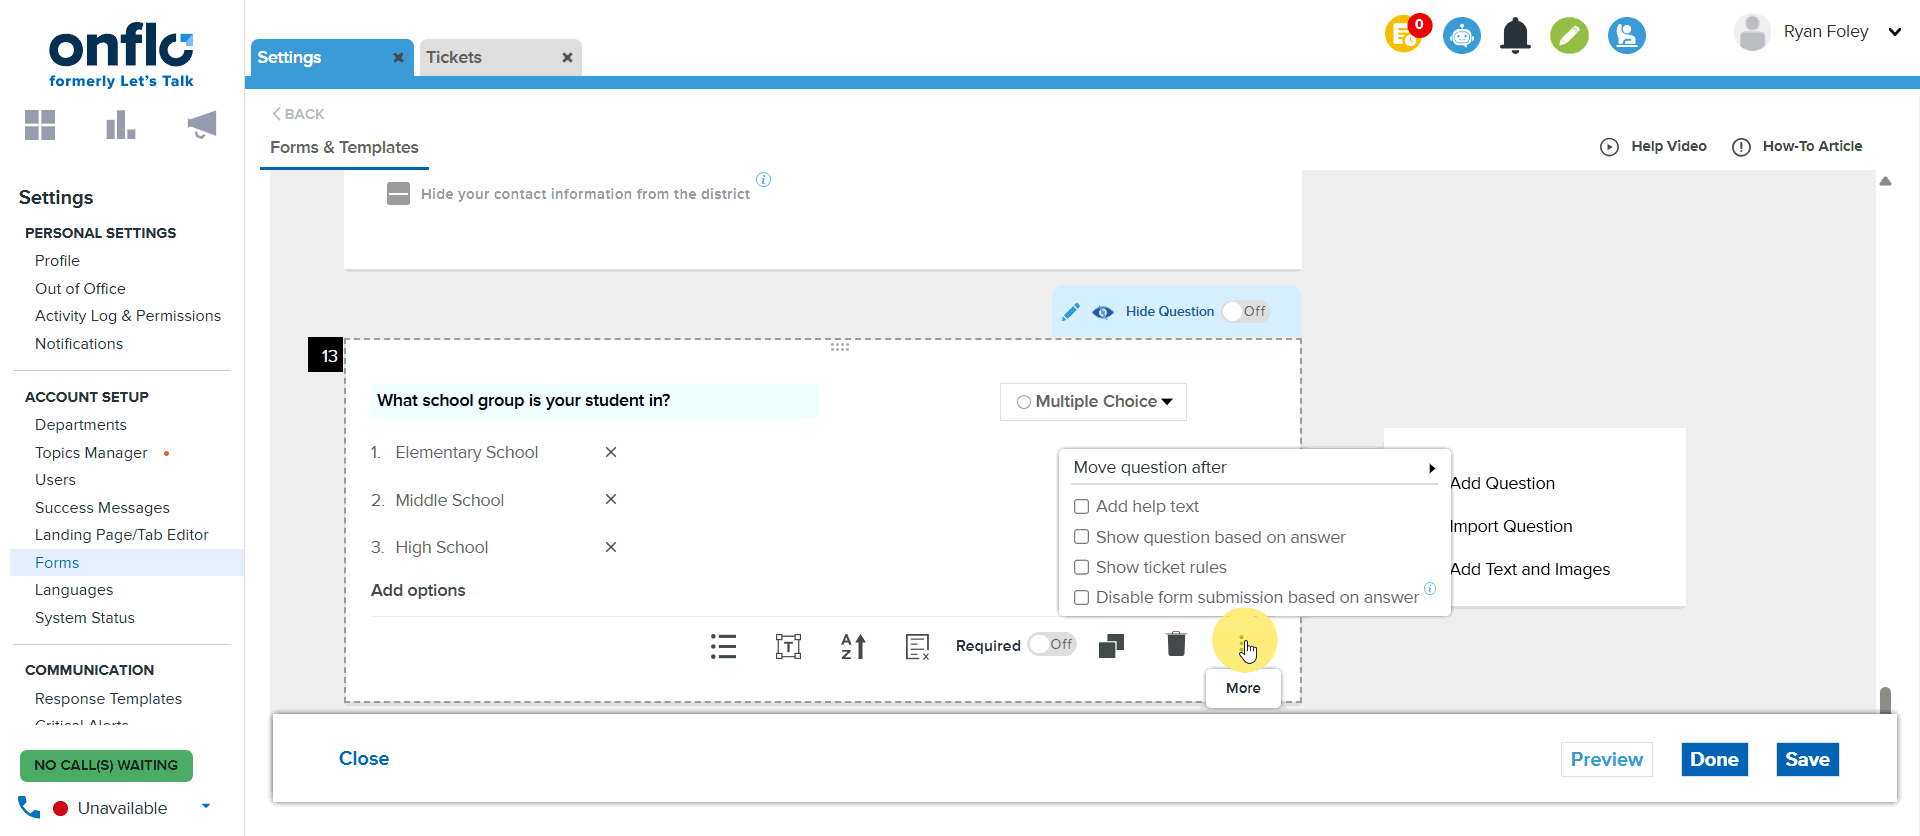
- After selecting your form, click the pencil icon on the question to edit. Within the question, you will see multiple options below including a menu icon (3 dots).
- Click the menu icon and check the box next to "Show ticket rules".
- Once checked, you will see a + icon for each answer option. Click on the plus sign to change the Topic.
- Select a Topic for each answer option and Save when complete.
Add Tags to Workflows
You can now trigger a Workflow that will add Tags to a Ticket if an answer option is selected within a Form. Tags can be added to Checkbox, Multiple Choice, and Drop-down questions.
To add Tags, click the pencil icon near the questions to open the editing options.
- Click on the three-dot menu in the bottom right corner of the question box and select "Show Ticket rules". You will see checkboxes populate to the right of each answer option.
- Check the box you would like to add a Tag to and a pop-up window will appear. From here, choose the Tag name from the drop-down menu.
- Be sure to click Save within the Tag box and also Save within the overall Form.
Tips:
- You can select multiple Tags from the list.
- To remove or add more Tags, check the box again and deselect/select the Tag names.
Add Topics/Team Members to Workflow
Tickets can be assigned to a topic or user based on the selection of answers within the form for multiple choice or checkbox answers in a form. Implementing these workflows based on the selection of an answer can expedite delivery of tickets to a department or user responsible for handling ticket types.
To add a team member or topic to answer selection
- Within the question on your form, click the 3 horizontal dots, then select Show Ticket Rules
- Click the "+" icon next to the answer option in the form
- Select the topic you wish tickets to be assigned to based on the selection of this option
- Select the owner from the drop-down menu to assign the tickets to
Manage Topic Team
Team members can be added/removed from a topic as well within this form when creating a workflow for an answer selection.
Add Team Members
- Click on Manage Team Members
- Select a user from the drop down menu to add to the team
- Click the checkbox next to this user's name
- Click Save
This will add the user to the topic team so they will have access to the ticket.
Remove Users from Topic
- Click the "x" next to the person's name
- Click Save
Delete Workflow
If you need to remove a workflow from an answer option on a form, please follow the directions below:
Delete workflow
- Click the "+" icon next to the answer option
- Click the trash can icon on the form
- Click Save