Assign Users as Live Agents
System Administrators can assign users as Live Agents. Once assigned, these users will be able to accept chat requests when they designate themselves as available.

- Go to Settings, and select “Live Agent” under the Channels section in the left panel.
- This will bring you to the Live Agent setting page where you can add or remove existing agents.
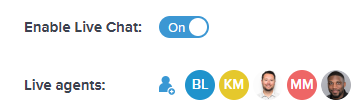
- Ensure that the “Enable Live Chat” switch is toggled to ON.
- To add a new Live Agent, simply click on the “Edit Team Members” icon next to the Live Agents heading and type the member's name in the box then Save.
Accepting a Chat
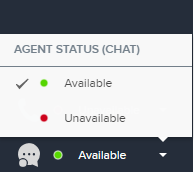
Once a user has Live Agent access, they can update their chat status to available by clicking on the chat icon in the bottom left corner then Available.
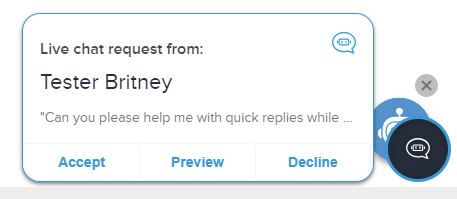
When a live chat request comes through, you have the option to click on Accept, Request, or Decline by selecting either option in the bottom right corner.
Using Quick Replies and Knowledge Base Articles
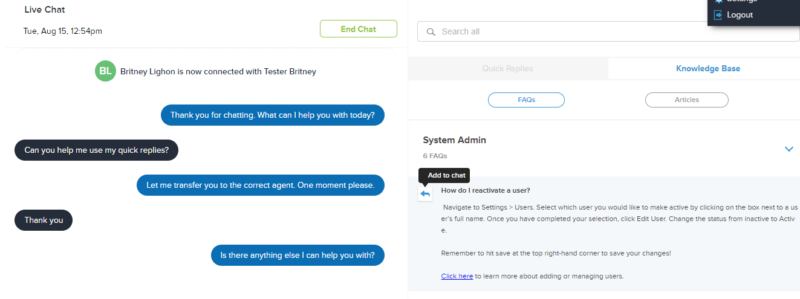
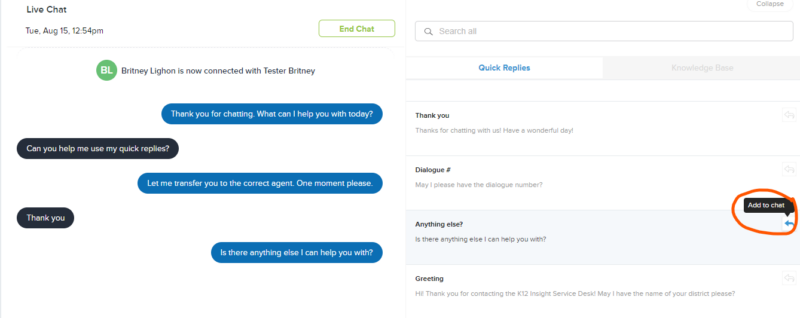
If you select the chat, you will then be responsible for responding to the customer within the chat screen. Here you can type your own message or use Quick Replies and Knowledge Base articles if they exist. To use a Quick Reply, simply hover over the quick reply message and click the arrow to add to the chat. To insert a Knowledge Base article in the chat, click on the Knowledge Base panel and perform the same action.
Please note: only System Administrators, Category Administrators, and Topic Owners can access the Knowledge Base feature by default, but other users can be given article access. Click here to learn more.
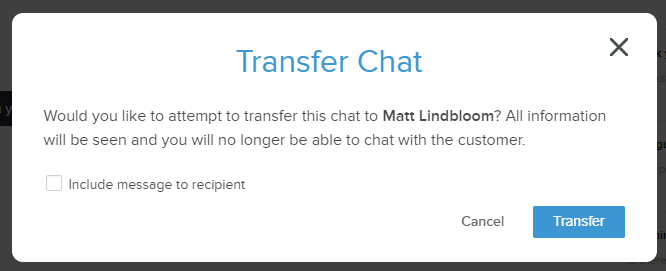
Transfer a Chat
If you are certain a different team member is better suited to respond to the customer, please utilize the Transfer option. You will need to select an active Team Member from the left side menu by hovering over their name icons and clicking Transfer. Feel free to include a message to the receiving team member.